The A&O participated in this year's RockyOp. Both local and out-of-town guests arrived for a morning of ops.
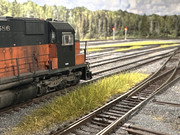
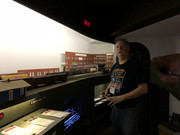
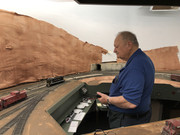
Jerry Warner from Tecumseh MI starts the session with southbound 262 behind A&O GP35 #400 at Jackson.
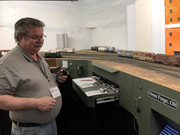
Linnwood yardmaster.
After interchanging cars in Linnwood, Jerry runs downgrade with the dynamic brake screaming.
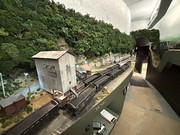
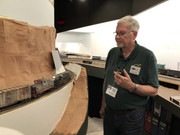
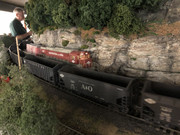
Doug Tagsold shoves with the RSD-12 helper on the grade between Mount Union and Linnwood.
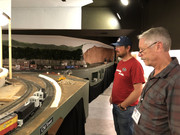
A&O regular Junior O. coaches Phil while switching the south end of Havens Yard at CM Tower.
Ricksburg yardmaster pulls his Alco S4 switcher off the drill track in preparation for the arrival of 262.
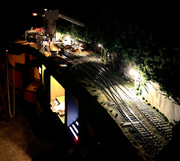
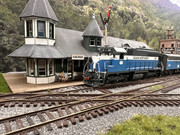
262 arrives in the TA Tower interlocking at Ricksburg.

Greg Long switches the Appliance Job in Glenn Forge.
Meet in Mount Union.
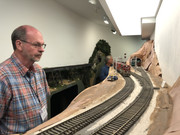
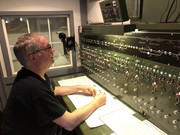
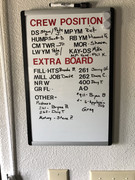
The Dispatcher position was open to guests.
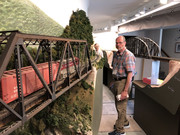
Doug runs a northbound coal empty across Twin Creek Viaduct behind ABA F3s.

 Recent Posts